This post contains affiliate links. Keep in mind that we may receive commissions when you click our links and make purchases. However, this does not impact our reviews and comparisons. We try our best to keep things fair and balanced, in order to help you make the best choice for you.
Share:
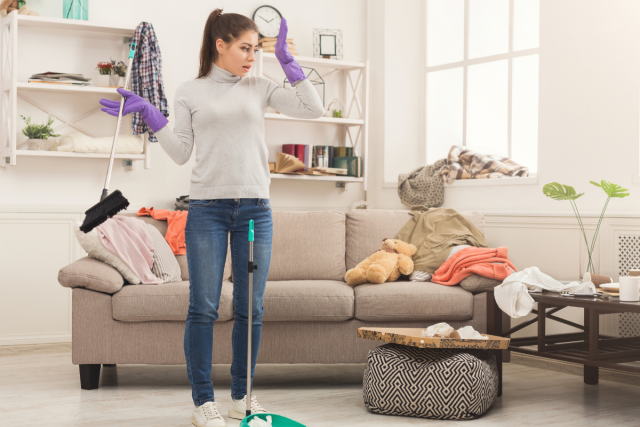
Yes ya’ll… the ever-constant battle for organization in your home is real. Needs change, and there’s always room for tweaks and improvements, so it can be hard to find a system that works for you and your family. But here is an easy 8-step process that you can use to organize each room in your home.
1. Take everything out of the space
You know what they say: sometimes it has to get worse before it gets better! That is often the case with organizing. I find that it helps to start with a blank slate.
Clearing out the whole space always helps me to see what I have. I can then assess my storage needs and really make the most of the space.
What if my room has too much stuff to take everything out?
If we’re working on organizing an entire room, it may not be practical to remove everything at once. In that case, we can break down the room into smaller parts and tackle one part at a time.
In the kitchen, for example, we could break down the project into organizing the refrigerator, then organizing the pantry, then organizing the cabinets.
Or in a bedroom, we could break it down to organizing our clothes, organizing our nightstands, and then organizing the floor and/or other surfaces.
If you’re feeling overwhelmed by the number of items that need to be removed from a space, break it down into smaller chunks and work on it a little bit at a time.
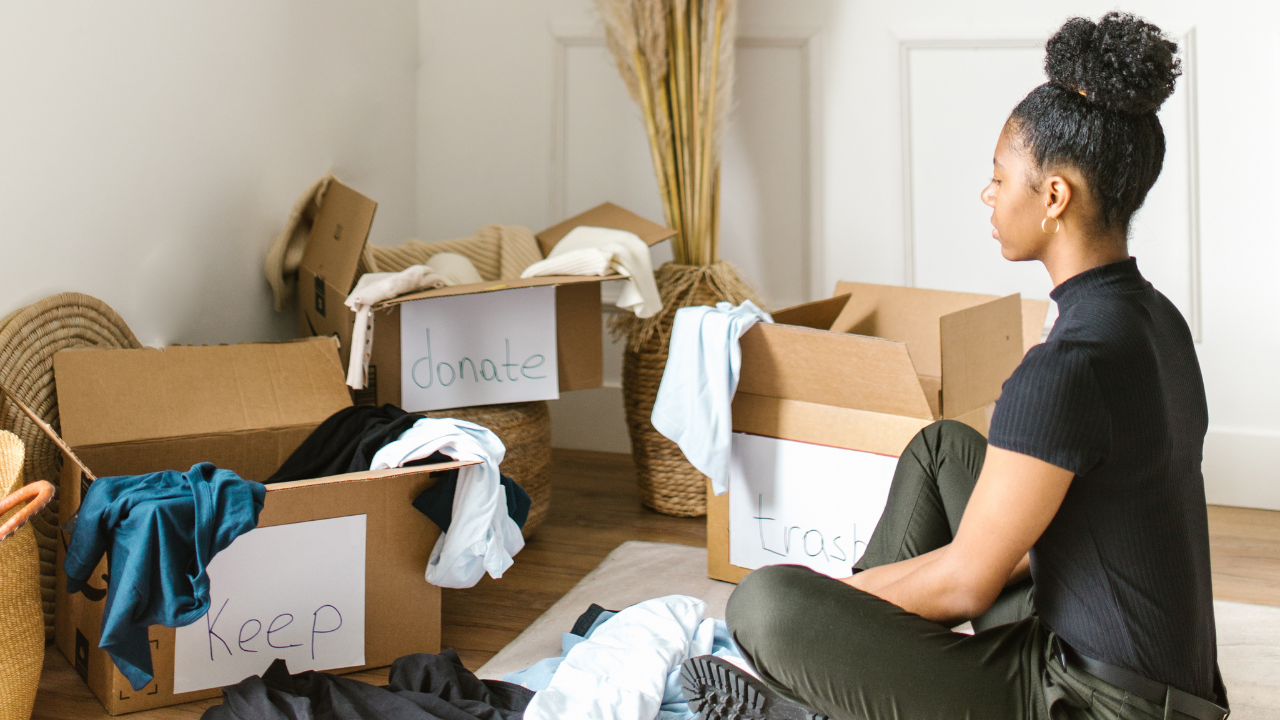
2. Declutter like crazy
I try to be as ruthless as possible during the decluttering process. If I haven’t used an item recently, that’s a pretty good indication that I can discard it. If it’s broken, it goes in my toss pile. And if it’s stained or worn out, I know it’s time to get rid of it.
The more we can get rid of, the less cluttered our space will feel. We can either have the stuff or we can have the space– not both.
We’ve cleared out our space and have this beautiful blank slate in front of us. We only want to put back what is absolutely necessary!
I have a tendency to hold on to things because I think I might need them “someday.” But in reality I use a lot less of my stuff than I realize. And if I’m not using it, it needs to go!
Does the item need to be relocated?
Along with selling or donating items, decluttering a space can also mean relocating items to a more appropriate spot.
If we find decor items in our kitchen cabinets, for example, maybe those could be moved to a storage space instead.
Or if we get rid of items and our closet is still full, maybe we could relocate blazers to our coat closet or off-season items to under-bed bins.
This second step – decluttering – often happens in tandem with step three…
3. Put like items together
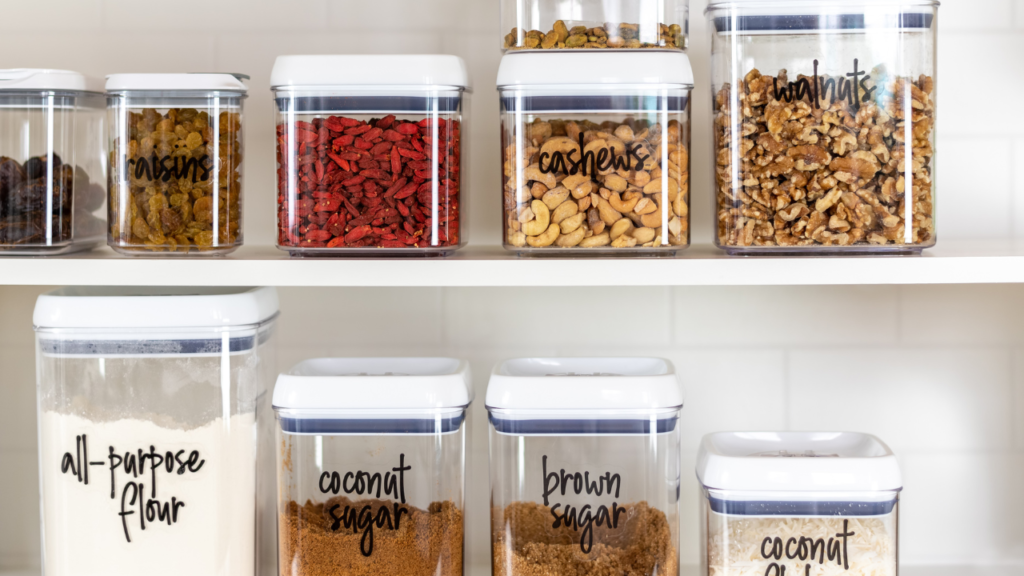
As we’re removing items from the space and decluttering, we can begin to separate like items into groups.
When I was organizing my pantry, for example, I put all of my spices together, all of the canned goods together, all of the baking items together, etc.
When my items are divided up by type, it’s easier to see exactly what I have. If I have doubles or triples of items, I can declutter some of the extras.
Maybe I discover that some categories of items that were in the space would actually be better stored somewhere else, and I can move them.
Separating items into categories also makes it easy to see what I’m working with so I can choose appropriate bins to corral each category.
And speaking of which…
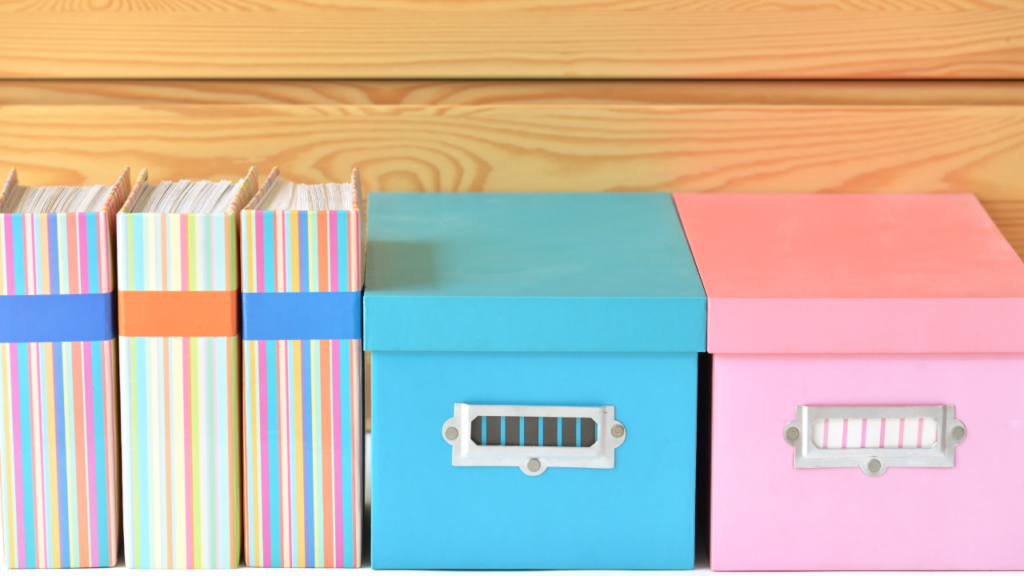
4. Corral like items
The next step in the organizing process is to take our categorized items and find a way to store each category in a neat, accessible way.
This doesn’t mean we have to go out and buy a bunch of fancy bins. I always start with what I have in my house and try to get creative.
I’ve used shoe boxes and diaper boxes wrapped in pretty paper to store things in some spaces. I’ve added pretty tape to otherwise boring bins. Getting organized definitely does not have to be expensive!
To take it one step further, I often put bins inside of bins. This helps control the clutter even more because each item has a specific spot. I know when I take items out and use them, they have their own space to go back to and I’m more likely to put everything back correctly.
5. Label bins, boxes, and organizers
Not only does labeling help me quickly determine what is where, but it is also pretty too!
There are several ways I like to label. Sometimes I’ll print a simple tag from the computer. Sometimes I’ll use a label maker to create a label. You could handwrite a chalkboard label. So many possibilities!
Along with labeling the outside of my bins, I will sometimes create a list of the contents and attach it. It makes it so much easier to find what I need!
6. Refill the space
Our space has been sitting blank up to this point, but once we have everything separated, corralled in bins (when appropriate), and labeled, it’s finally time to start putting things back.
I always start with the items that I use most often and put them in the most accessible spot.
Items used infrequently can go on higher shelves or in other harder-to-reach spaces.
Then from there, I fill in the gaps until everything has a home, always keeping like items together.
7. Train yourself to put things back in their spot
In step 5 I talked about making sure everything has a specific spot. Once everything is organized and back in place, the only way that it will stay that way is if we get in the habit of putting things back where they go as soon as we are finished with them.
I work hard to create solid organizational systems though, so if I want to maintain them, I have to commit to returning items to their place when I’m done.
Add a visual cue as a reminder to maintain the organizing system
One way to get into the habit of putting things back where they go is to give ourselves a visual cue. Maybe start with the kitchen and put a post-it note on the fridge that simply says, “Put it back!” Or try a similar note on the bathroom mirror or on the closet door.
New habits don’t form overnight, but if we create smart organizing systems and make it a priority to maintain them, over time, putting things back where they go will feel more like second nature and less like work.
8. Don’t be afraid to change organizing systems that aren’t working

Finally, don’t be afraid to tweak systems that aren’t working for you. There have been instances where I have spent a lot of time setting up a system and making it look pretty, but when it came to day to day use, it just wasn’t practical or workable.
Final Thoughts on How to Organize Any Space in Your Home
Sure, different areas of the house may call for different types of bins or dividers or shelving, but as far as the actual organizing goes, this is a system to follow for every project you do!
When we feel like everything is unorganized, it can be totally overwhelming to try and bring it all back to order. But if we attack one small area at a time and follow these simple steps, we really will start to see progress more quickly than we think! There really is no better satisfaction than a freshly organized space!
Thank you!
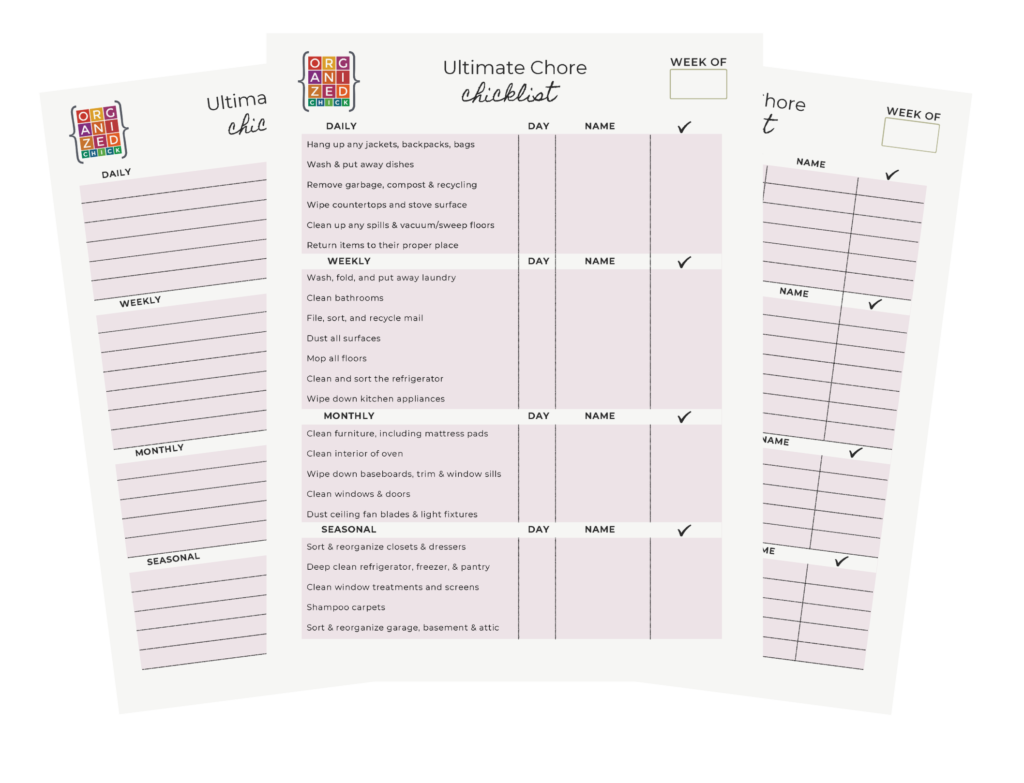
Check your email for your Ultimate Chores List!